JPG to PDF High Quality
The PDF looks blurry. The original photo was sharp. Something happened in between. Nine times out of ten, that something is a server re-compressing your image before it ever touches a PDF page.
Convert in HD →Quick answer: Select High (HD) quality in the converter settings. Browser-based tools embed your original JPEG data directly into the PDF without re-encoding it — no quality loss. Server-based tools re-compress the image during conversion, which is why the output looks worse than the source.
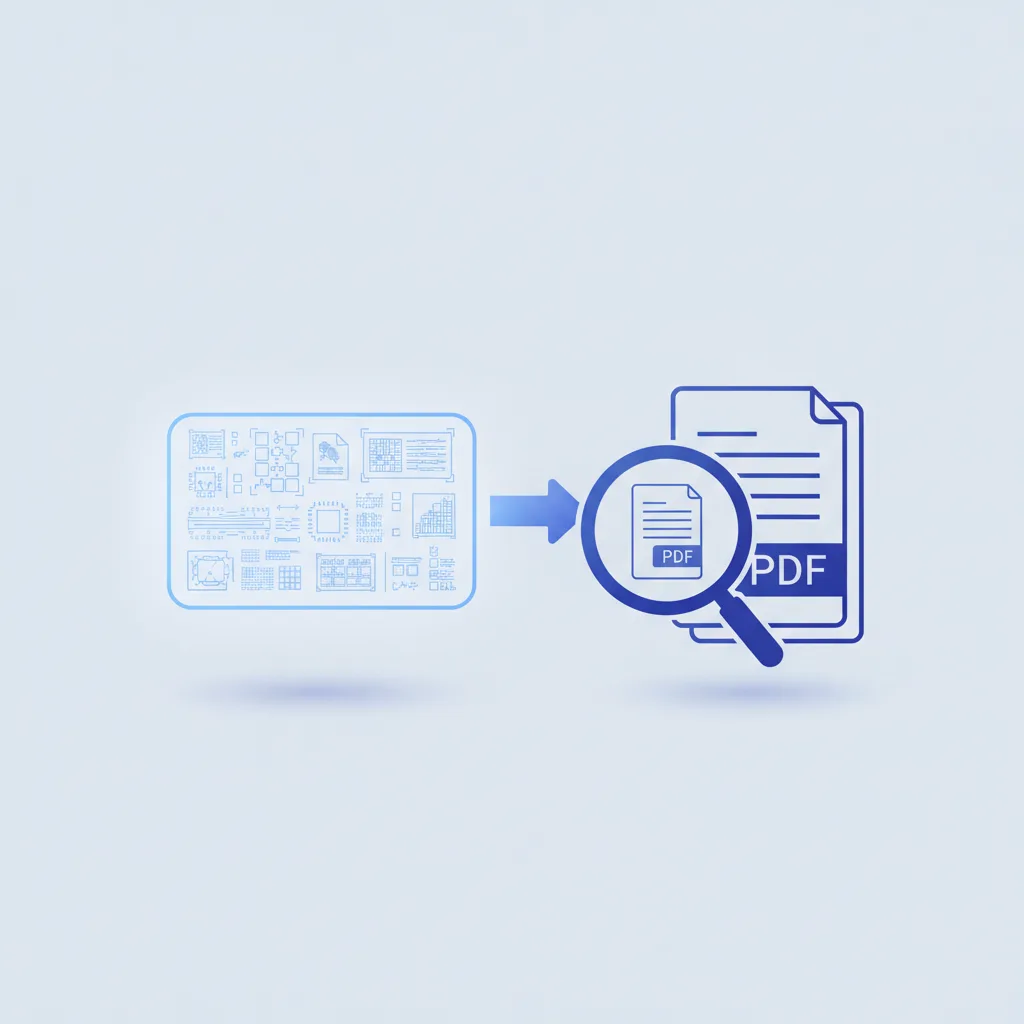
Why quality loss happens — and when it doesn't
A JPG is already a compressed image. The compression happened when you took the photo or saved the file. Converting that JPG to PDF should not compress it again. But most online converters do exactly that.
When you upload a JPG to a server-based tool, the server decodes your image, processes it, and re-encodes it during PDF generation. Every re-encode of a JPEG introduces new compression artifacts. The more the image is compressed, the more detail is permanently discarded. You cannot get it back.
Browser-based tools work differently. The PDF is built locally on your device. The original JPEG data stream is copied directly into the PDF container — no decoding, no re-encoding. The image in the PDF is bit-for-bit identical to your source file. (The first time I heard that explained I made the engineer repeat it twice. It really is that straightforward.)
Rule of thumb: If the tool asks you to upload and wait for a server to process, quality loss is possible. If the conversion happens instantly in your browser without any upload progress bar, the image data goes straight into the PDF unchanged.
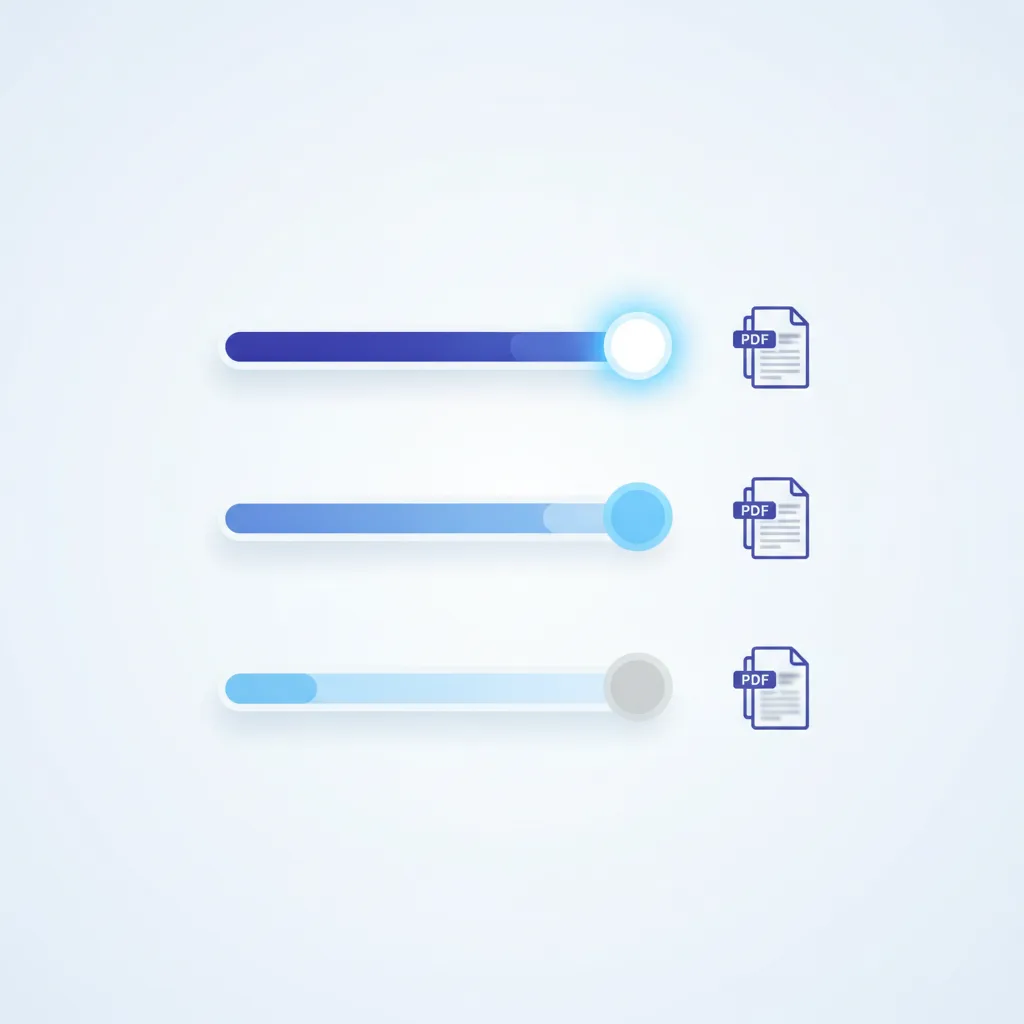
Quality settings explained
The converter has three output options. Here is what each one actually does to your image data:
| Setting | What it does | Output size | Use when |
|---|---|---|---|
| High (HD) | Embeds original JPEG bytes unchanged. No re-compression. | Largest | Print, government portals, ID scans |
| Medium | Light re-encoding via canvas. Small quality reduction. | Medium | Digital sharing, email attachments |
| Compressed | Aggressive re-encoding. Visible on text and fine detail. | Smallest | Portal file size limits (2 MB, 5 MB) |
For anything where someone else will read it — a visa application, a bank form, a medical record — use High. For a PDF you're sending informally and nobody needs to zoom into, Medium is fine. Compressed is only appropriate when a portal has a hard file size ceiling you cannot work around any other way.
What you lose at each level
At High, nothing. At Medium, the loss is typically invisible at normal viewing size — you'd need to zoom to 300% to notice. At Compressed, fine text becomes slightly soft and detailed photo edges pick up artifacts. Acceptable for a thumbnail preview. Not acceptable for a document that gets printed or verified.
Convert JPG to PDF at full quality
HD setting, no upload, no re-compression. Your image data goes straight into the PDF.
Convert now →The source quality problem — what the converter cannot fix
Here is the thing nobody tells you. The converter preserves quality. It cannot create quality that was never there.
If your photo was shared via WhatsApp, it was compressed. WhatsApp reduces image quality to roughly 50–70% of the original. The compression happened on someone else's server before the file reached your device. No converter — browser-based or otherwise — can restore data that was discarded at that step. (Believe me, I checked.)
The same applies to screenshots, low-resolution scans, photos taken at the camera's lowest quality setting, and images downloaded from the web at display resolution. What goes in is what comes out.
Before converting: check where the JPG came from. If it arrived via WhatsApp or Telegram, try to get the original file sent over email, Google Drive, or iCloud instead. That single step often produces a dramatically sharper PDF without changing anything else.
How to check source quality before converting
Open the JPG on your phone and zoom into the finest detail — a signature, a stamp, small printed text. If it looks sharp at 3× zoom, the source is good. If it looks soft or blocky, the source has already been compressed and the PDF output will reflect that.
DPI and resolution — what they mean for your PDF
DPI means dots per inch. It describes how many pixels are packed into each inch when the image is printed at a given size. Higher DPI means sharper print output. It does not affect how the PDF looks on a screen — only on paper.
| DPI | What it's for | Pixel width at A4 |
|---|---|---|
| 72 dpi | Screen viewing, portal uploads (display only) | ~595 px |
| 150 dpi | Professional document submissions, general print | ~1240 px |
| 300 dpi | Full print quality, legal documents, photographs | ~2480 px |
Most government and bank portals display submitted documents at screen resolution. Submitting a 300 DPI scan when the portal only shows it at 72 DPI does not improve the reviewer's experience — it just makes your PDF larger. The exception is any process where the document gets physically printed and examined, or where a high-resolution PDF is explicitly required.
The converter preserves whatever DPI metadata is in your source JPG. If your scanner produced a 300 DPI image, the PDF will reflect that. If your phone camera produced a 72 DPI image (common for phone cameras regardless of megapixel count), the PDF will reflect that too.
File size vs quality — the honest table
Higher quality means larger files. That is not a flaw. It is physics. Here are realistic file sizes for typical phone camera photos at each quality setting:
| Photo type | High (HD) | Medium | Compressed |
|---|---|---|---|
| Phone photo (12 MP) | 2–5 MB | 0.8–1.5 MB | 0.2–0.5 MB |
| Document scan (A4, 300 dpi) | 1–3 MB | 0.4–1 MB | 100–300 KB |
| Screenshot (1080p) | 0.3–0.8 MB | 0.15–0.4 MB | 50–150 KB |
If a portal has a 2 MB limit and your HD PDF is 4 MB, switch to Medium. If Medium is still over the limit, switch to Compressed — but check the output before submitting. Compressed mode on a document with small printed text is where quality starts to matter.
Print vs screen — which quality you actually need
Most people asking about "high quality JPG to PDF" are not printing. They are uploading a document to a portal or emailing it to someone. For that use case, Medium quality is indistinguishable from HD on any screen. Save the larger file size for cases where it genuinely matters.
Cases where HD genuinely matters:
- The PDF will be physically printed at A4 or larger.
- The reviewer will zoom in to verify a signature, a stamp, or fine printed text.
- The document is an ID, a certificate, or a legal instrument where legibility is verified.
- The portal specification explicitly requires a minimum DPI (some visa and immigration portals do).
Cases where Medium is fine:
- Expense reports with receipt photos.
- Informal document submissions to colleagues.
- Portfolio PDFs viewed on screen.
- Anything where the portal shows a thumbnail preview only.
Straight answers
Does converting JPG to PDF reduce quality?
Not if you use High (HD) and a browser-based tool. Quality loss happens when a server-based tool re-compresses your image during conversion. Browser-based tools copy the original JPEG data directly into the PDF without re-encoding it.
What is the best quality setting for JPG to PDF?
High (HD) for anything you'll print or submit officially. Medium for digital sharing. Compressed only when you must hit a specific file size limit like 2 MB or 5 MB.
Why does my PDF look blurry when the original JPG was sharp?
The most common cause is a server-based converter re-compressing the image before embedding it. Use the browser-based converter on HD quality setting — no upload, no re-encoding.
What DPI should I use for JPG to PDF?
72 DPI for screen-only use. 150 DPI for professional submissions. 300 DPI if it will be printed at full size. The converter preserves the DPI metadata from your source image.
Does WhatsApp compress photos before I convert them to PDF?
Yes — aggressively. If quality matters, get the original file via email or cloud storage, not WhatsApp. No converter can restore compression that already happened.
How do I make a high-quality JPG to PDF for printing?
Start with the highest resolution source JPG you have. Use High (HD) quality. Select A4 page size. The full image resolution embeds directly into the PDF.
Why is my high-quality PDF a large file?
Because high quality means the full image data is embedded. A 12-megapixel photo at HD quality produces 2–5 MB per page. That is expected. Use Medium or resize the source image if you need a smaller file.
Related tools and guides
If the PDF still looks softer than expected after using HD mode — zoom into the source JPG first. The converter is faithful. The source is the variable.
↑ Back to top